Archive for the ‘ Uncategorized ’ Category

Modified shelving and tool storage

Well, as you read in my previous post, you will learn that I did a little investing in some new tools to add to my collection. Of course ALL my tools are not new. i have had a hammer, tape measure, some screwdrivers, and a basic socket kit for some time. when i undertook the bed frame project, i began to wonder where and how i would store tools, as most of the other ones were just scattered around different places in the house. By house, i mean duplex. we rent a side-by-side from a property manager here in Ankeny. this is property #3 i have rented from Tony since living in Ankeny. one of the downsides to an affordable rental is lack of customization, aside from being able to use really small nails to hang photos and such. I would love to just mod the heck out of this basement. i would coat one far wall in pegboard, attach shelving to another, paint scheme a portion of the living area, build a home theater around my hi def projector, and the list goes on. So how do i solve some of these problems? One solution is to modify and make-to-fit the things i already own and that can be moved or removed easily without leaving a footprint of my existence in the property when i leave. An example is the kitchen. we obviously wont be able to build wall shelves to hold things, so i added a lifetime folding table for prep and microwave as well as a couple plano shelf systems built up to the ceiling. we store all manor of pans and such on them. So back to the tool storage idea. back when I worked in Walnut, Iowa, i obtained some pegboard from a gas station that was discarding it. through the years i have used it to hang up paintball markers and equipment. now, after having moved from place to place, the same pegboard is attached to the back of wire shelf unit. the inside of the shelves have controller platforms for the xbox, and the back, which faces my desk, has a few hooks and a light attached. the shelf was like this when i had a little apartment and i have just never taken them down. this project is super easy and solves problems of permanently committing to a wall space ore bench as well as taking care of the “i live in a rental and can’t mod it” problem. I can throw a shelf into a trailer when it comes moving time. i cant explain to Tony why his wall is all full of screw holes. so again, scroll on and view my next undertaking. A wire rack shelving system from Home Depot, some pegboard, and the magic ingredient…zip ties.


i forgot to take a before photo of the tools etc on the shelf. but here you can see what I am working with.


box of tools and such


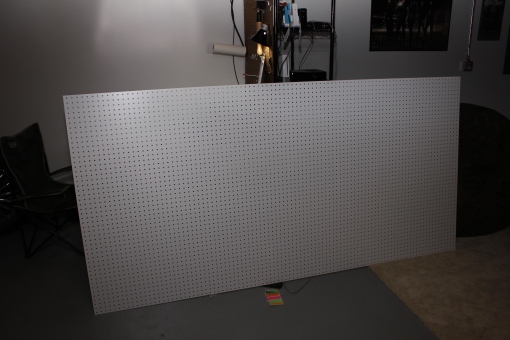
4x8' piece of pegboard. a lot for such a small project. I wanted leftover.


these wire shelves come with these black round clips to support the shelf once mounted on the post. i added a strip of electrical tape to them once mounted to hold them in place and give the shelf more to clamp on to when tapped down.


simple and affective when re arranged and hammered the shelves onto it.


i got creative on how the heck to cut such a large, wobbly peice.


the peice is cut, time to mount it


the secret ingredient to the success of this working is zip ties. placed in certain spots around the board, they secure it to the back of the shelving. with no frame or fanciness to it, you might say it looks tacky, but it works.


i took my handy leatherman and pulled tight the ties and cut the excess off.


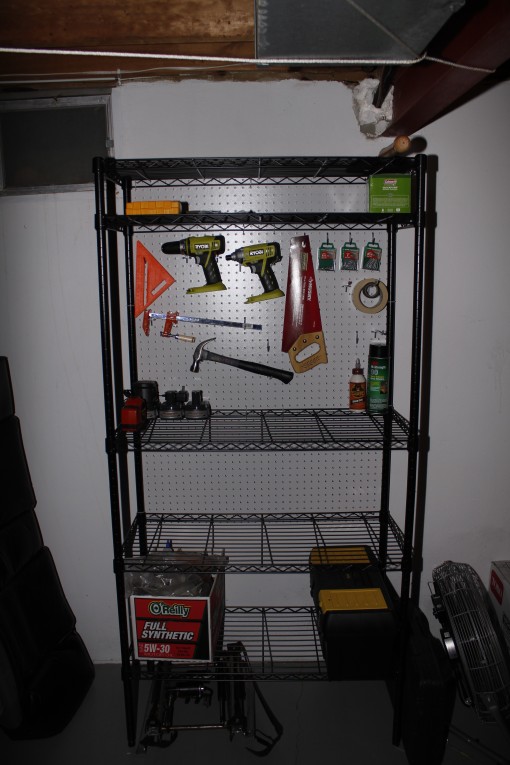
using mostly hooks and hangers i got in a pack from wal mart, i organized and hung the tools


You may be thinking, “that’s not very many tools”. Its not. but I am starting somewhere and as my tool collection grows so will my storage space. In the future, i might cut sides for the tool portion with more pegboard. we’ll see. In a smaller place like this, believe it or not, things become disorderly, as with any house or apartment. my goal was to come up with a way to consolidate and store my tools without having to go overboard with drilling holes in the walls and such. i can now move this tool stand anywhere and still have the organization i desire. Hope you enjoyed. it was short and simple, but I still took the time to photograph it along the way to share. Success.

Jared-

DIY Queen size platform bed

For some time now, i have not had a frame for my mattress. when i moved out of my parents house in late 2008, all i took wa the mattress from my bed, as the box spring was no good. I was happy with it just on the floor. since then I have lived on it in three (four if yo count WI, when Eva used it during my deployment.) different places. Now I am married and we still have it on the floor. until now. nothing is wrong with sleeping on a mattress on the floor. but having a bed to get out of, instead of stand up and walk off of, is nice. A luxury we decided it was time to afford. Amazon.com has ton of platform beds for sale. the come in a box, you bolt em together and voila. a bed. Here is the issue i saw. Price. many of them range in average of about 200 bucks. not too bad as i get free shipping for being a prime member. but its not custom to what I want. I decided for about the same amount of money i could do so much more and build something I would be happy with and appreciate. So, after returning home from Christmas back home, i went to Home Depot to do some window shopping. I own little to no tools at this point, so if i’m going to build a bed, i will need to invest a little more than the cost of materials. I found a Ryobi drill/driver set for an extremely good combo price (only 2 left) so i decided to go with that system vs. my desired Dewalt (which costs much, much more). I had my list of needs so i went through and picked up the materials and tools necessary and in the long run saved a lot of $ than had i just clicked a button and gone with Amazon. Also, for any of my military readers, Home Depot gives military discount. keep in mind, i no little to nothing about carpentry, but dove in head first. i found a site called myplatformbed.com and elaborated on his plan for a frame. super simple and affordable materials from the store. when you view the photos, you will notice how a small basement like mine is NOT the ideal place for a construction project. I have a lot of mess to clean up now. but it was worth it. It took me an afternoon, plus another few hours of work the next morning and afternoon to finish up. Have a look at the project from start to finish. My first project of this proportion.

maneuvering the wood into the basement was fun

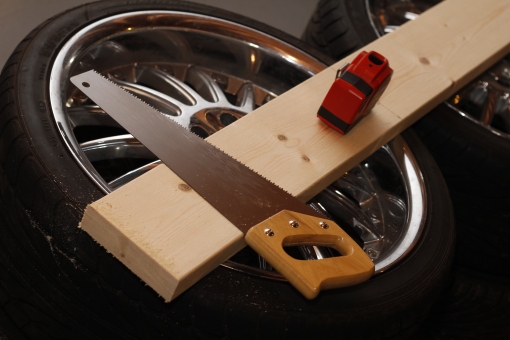
yep, i used a hand saw

i had to buy this drill bit seperate to eat through about 6 inches at once

this is how i driled holes for the end and sides. like my "saw horses"?

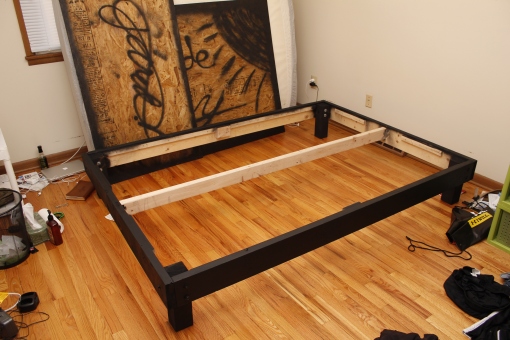
after much measuring, marking and drilling, things started taking shape

A unique part of the support on the frame is by using a 2x4 support bracket in the center.

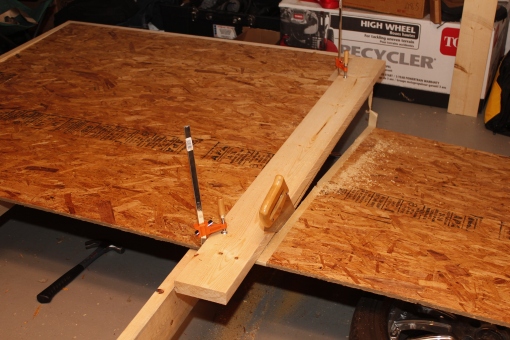
now the mess of cutting the fiber board. dont use this stuff. get actual plywood! i had to get creative on just how to cut it to size using a hand saw.

TA-da!

this was the start to today's portion. Eva was home this-morning so she participated in helping sand down 1x3 strips that needed to be put on the sides for support of the boards as well as wipe the sanded frame down with a wet cloth in prep to paint

after re-assembly in the driveway, i spray painted it a flat black

fiber board is gross. so to keep splintering and shedding down, i coated all edges and corners with the best spray adhesive 3M makes, followed by painting to cover the residue and match colors to the frame

it was a little messy. I needed one of me to share with the post so here.

after Eva went to work and the painting was done, i had to wait for things to dry. Morpheus got lunch on the meantime.

to prevent the bed from sliding around (the bedroom is hardwood floor) i added some non-skid matting to the bottom of each leg.

I got all the pieces and re-assembled (again). this time for good

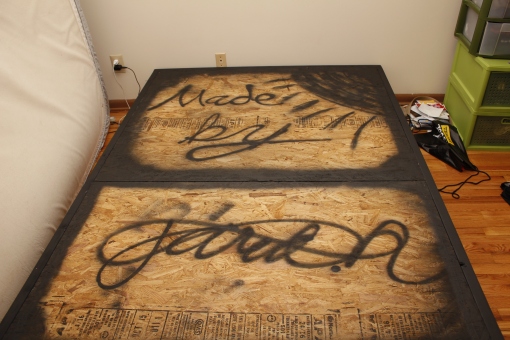
Made by Jared. N

I anticipate A very happy wife when she returns from work tonight

So there it is. my first major carpentry project.

A bunch of wood, a new drill, a new impact driver, batteries, carpenter square, glue, screws, hardware, clamps, 2 cans of spray paint, a can of adhesive, saw, wrenches, pens, pencils, markers, sand paper, hammer, a crap-ton of cardboard, and a tape measure later I have built us a sweet bed frame.

go to myplatformbed.com for the instructions. i followed them (for the most part) and added a few twists of my own, like the fiber board fix. hope you enjoyed reading through my adventure in diy carpentry. until next time.

Jared